The POS room hosts a totally unique price ticketing system for you to use to re-ticket your entire store,
This is extremely easy to use and can produce hundreds or thousands of price tickets with just a few
button clicks. You can either, type your ticket content directly into the browser for each required price
ticket or copy & paste hundreds of product details directly from an Excel spreadsheet, ePos till, stock system
and more. The content is then automatically scaled to your chosen ticket style where the system will also
adjust the text to always fit. Your tickets will be compiled to a size of your choice, A4, A5, A6, A7, A8 or as
sticky labels. Tickets are then printed with multiple tickets per page to save paper or alternatively as
pre-cut tickets.


What do you need?
Getting started
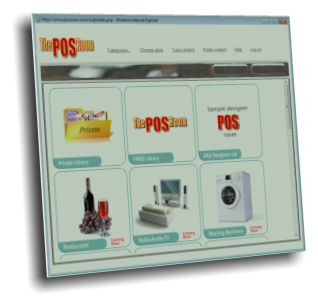
Click the ‘go’ button above and a pop up screen will be shown similar to the one on
the left. There will be a number of POS rooms available to choose from or simply
select thePOSroom FREE library.
Subscribers to the system have access to their own private library where they can
upload their own bespoke ticket backgrounds.
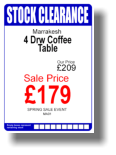
Choosing a style
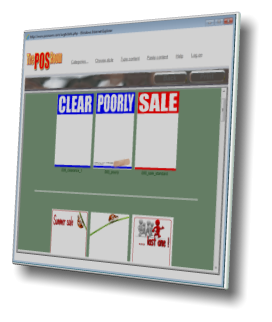
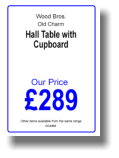
Selecting a POS room will then display a number of different ticket designs. Each
design can self-scale to all different ticket sizes and content layouts.
Clicking on any design will select it and automatically take you to the next step.
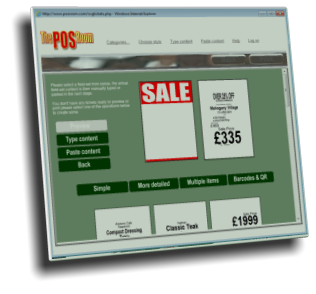
Choosing a field-set
Some products only require a line of text and a price where other products
may require several lines of text, multiple prices and bullet points to properly
describe the product in full.
These are field-sets where you simply select one that best suits your product.
When you’ve selected a field set you can then decide whether to manually
type the ticket data or whether to paste the detail into the system.

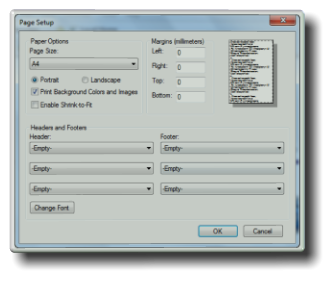
By default your browser printer settings may also be adding certain text headers
and footers to your printed ticket pages or it may be adding large white margin
to one side of the ticket.
From your browser, click on * File | Page Setup and then,
Empty out all header and footer boxes
Set all margins to zero to provide maximum printable area on the page
Ensure that the paper size is set to A4
Remove the tick from Shrink to fit
Tick the Print background colours and images checkbox
You can also use the ‘Left’ and ‘Top’ margin to nudge the entire page of tickets
around on the printed page if they are not centralised from your particular
printer.
* If you can’t find the File, Page Setup, right click the cog icon in the top right
hand corner of your browser screen and click on ‘Menu bar’ you should then
see a menu bar appear across the top of your browser where you can then go
to ‘File’ ‘Page Setup’.
If you still have any difficulty in using the ticketing system please contact
support@posroom.com
We recommend Windows-7 or Windows-8 and the Microsoft
Internet Explorer browser Version-9 or above but the system
will work with many other browsers that support SVG
(Scalable Vector Graphic).
The system is not compatible with WinXP
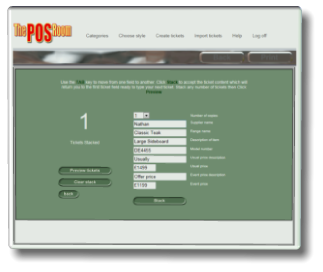
Typing ticket content
If you only have a handful of tickets to produce, you may prefer to simply type your
ticket content directly into the browser. To do this simply click on the Type ticket
content button where you will then see prompts for each field of your selected field-set.
Use the keyboard Tab key to move from one field to the next. When landing on the
Stack button simply press the Return key to stack the content you’ve just typed as a
ticket, you will then be taken back to the first field where you can repeat the process for
any number of tickets.
Finally, click on the Preview tickets button.
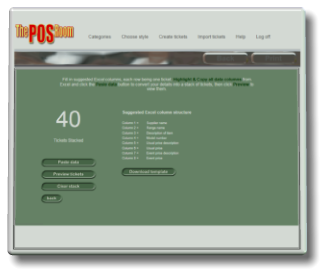
Copying & pasting ticket content
One of the fastest methods of generating tickets for your entire store is use the Paste
ticket data screen.
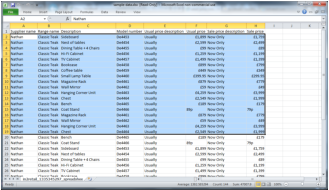
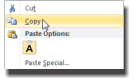
Subscribers can simply highlight all columns of an Excel spreadsheet, right-click and
Copy, then simply click the Paste data button. Typically the system will compile around
100 tickets within 2-3 seconds. Other choices would be to import data from other
systems like ePos tills, stock systems and the In2Retail X-Margin system.
Finally, click on the Preview tickets button.
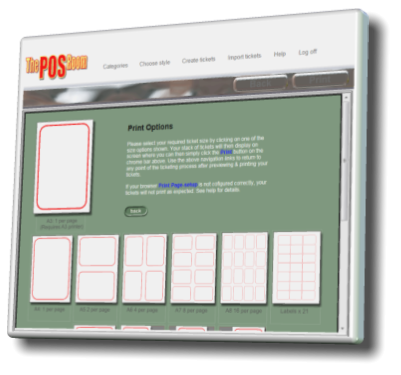
Choosing a ticket size
There are many ticket sizes to choose from where multiple tickets will
print on the same page to save paper. If you scroll the screen down you
will also find the option to print either A5 or A6 sized tickets onto pre-cut
tickets.
Clicking on any size will then take you directly to the ticket preview
screen.
Previewing and printing tickets
All tickets that you have stacked will then preview on screen, this may
take a few seconds depending on the size of your ticket stack.
Once loaded you can either click on the Print button or on the Back
button to select a different size or style.
You can also jump directly to the Type ticket content or Paste ticket
content screens using the menu links across the top of the screen.